

I don't typically do blogging tutorials, but I've just figured this out myself and I'm pretty damn proud. I thought I'd share since not many people seem to actually change this on their blogs and thought perhaps some people might appreciate it.
NOTE: This tutorial is for Blogger. I have no idea how to do this in WordPress.
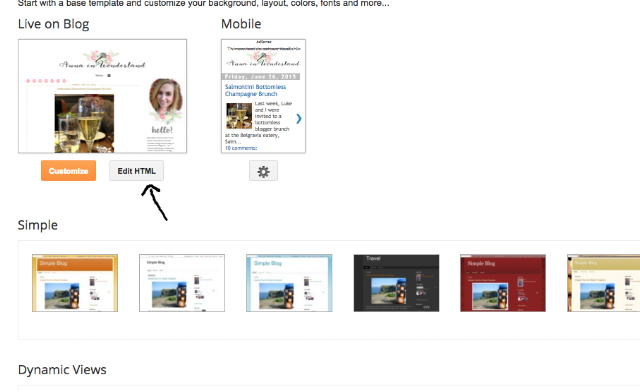
1. After selecting your blog, select "Template."

3. Click you CTRL + F keys inside of the template to find the following (one at a time):
You can simply change the text by replacing the words. For example, if you want "Newer" to read "Latest," you change it to
4. Replace the entire thing (there will be two
Making an Image:
Making an image is pretty easy. You don't even need Photoshop. Instead, I downloaded a font (if you can't tell, I am obsessed with Botanica so apologies ahead of time) and wrote my "older" and "newer" in a Word document with that font. Then, I took a screenshot of the words, uploaded to Imageshack and voila! You can find awesome free fonts at dafont.com. Or if you're looking for more premium fonts, you can invest in a few from MyFonts.com.


No comments:
Post a Comment
Thank you so much for taking the time to leave a comment. I truly appreciate it!